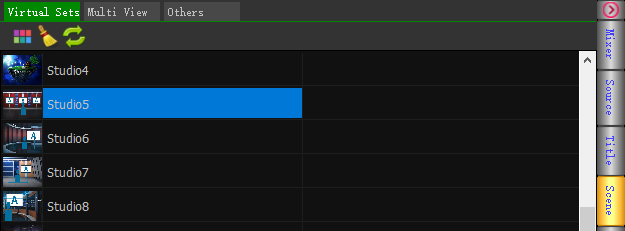
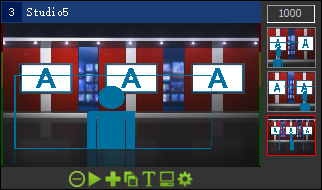
- Click "Scenes" in the right sidebar, click "Virtual Studio", select a template, drag and drop it to the waiting area to finish the addition of virtual studio.
- Add the host source
Add cameras or media files with green or blue screens to the waiting area

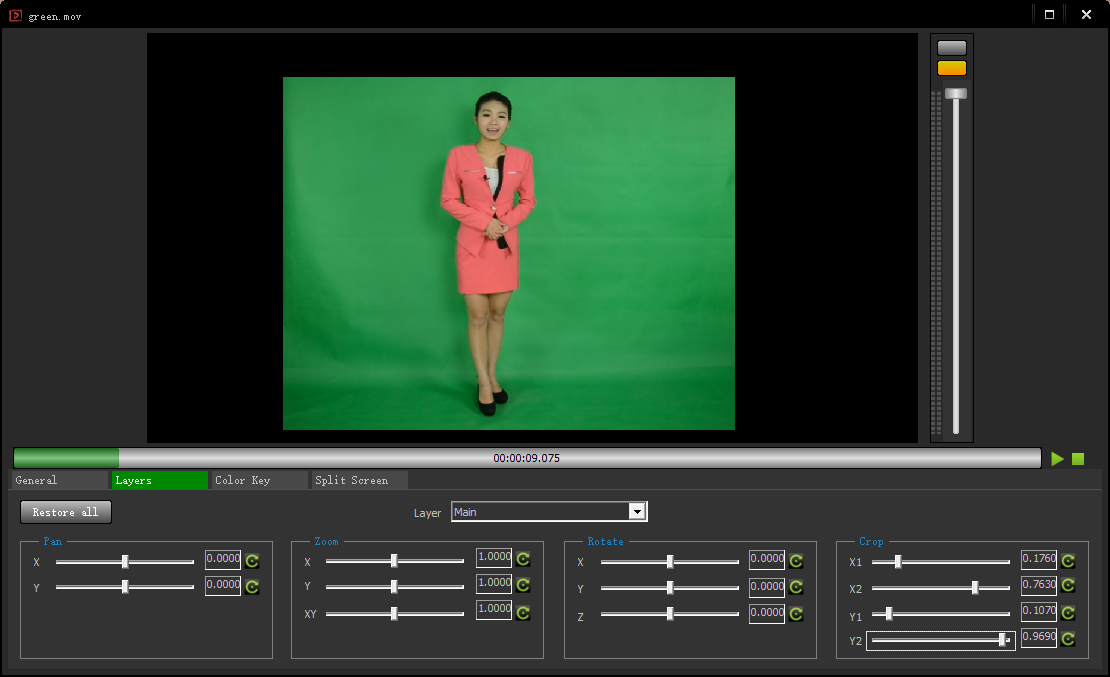
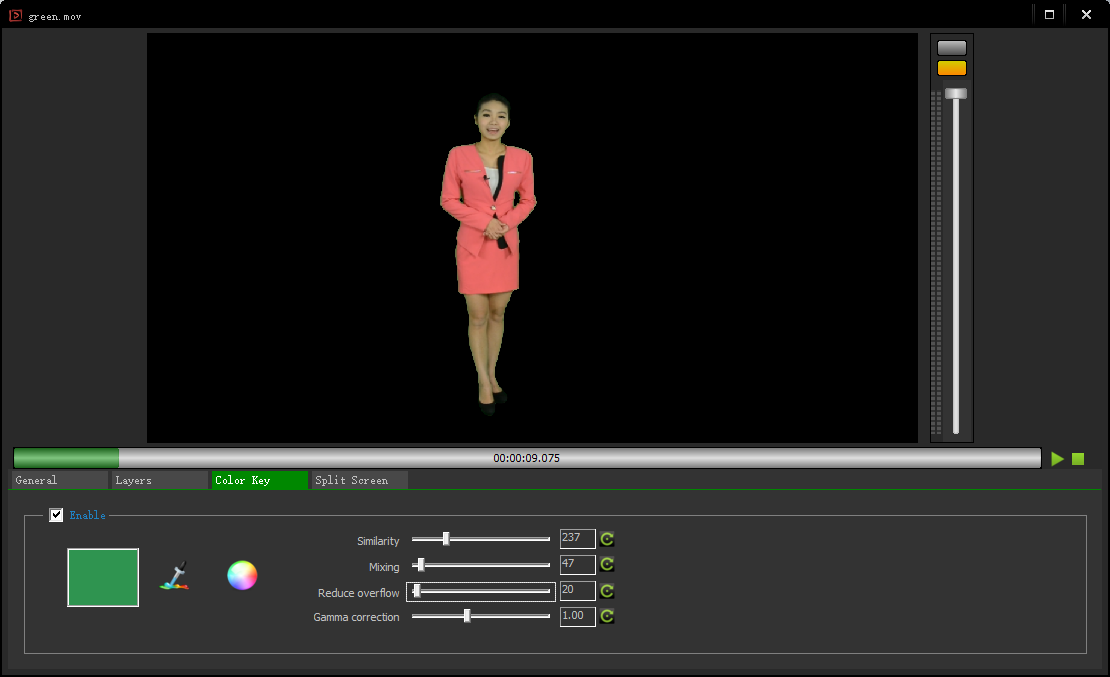
- Click the gear button in the signal source window to edit the source.
1) Crop: switch to the "layers" page, select the "main" layer, drag the trimming bar x1, Y1, X2, Y2 to cut the clutter background.
2) Matting: switch to the "Color Key" page, select "Enable", drag the dropper icon to select the color key background, and adjust the similarity and other parameters to the best state.
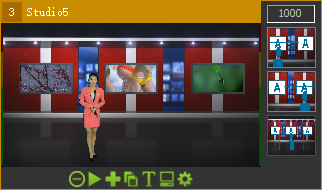
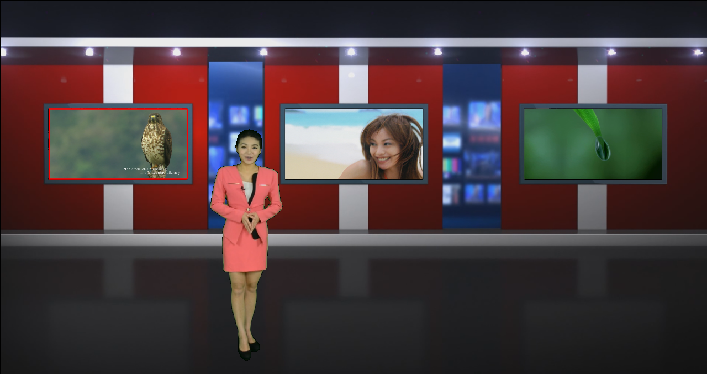
- Add the source with host to Virtual Studio sub window。
There are two ways:
1)Drag the host window to the appropriate sub window of the studio, then release the mouse.
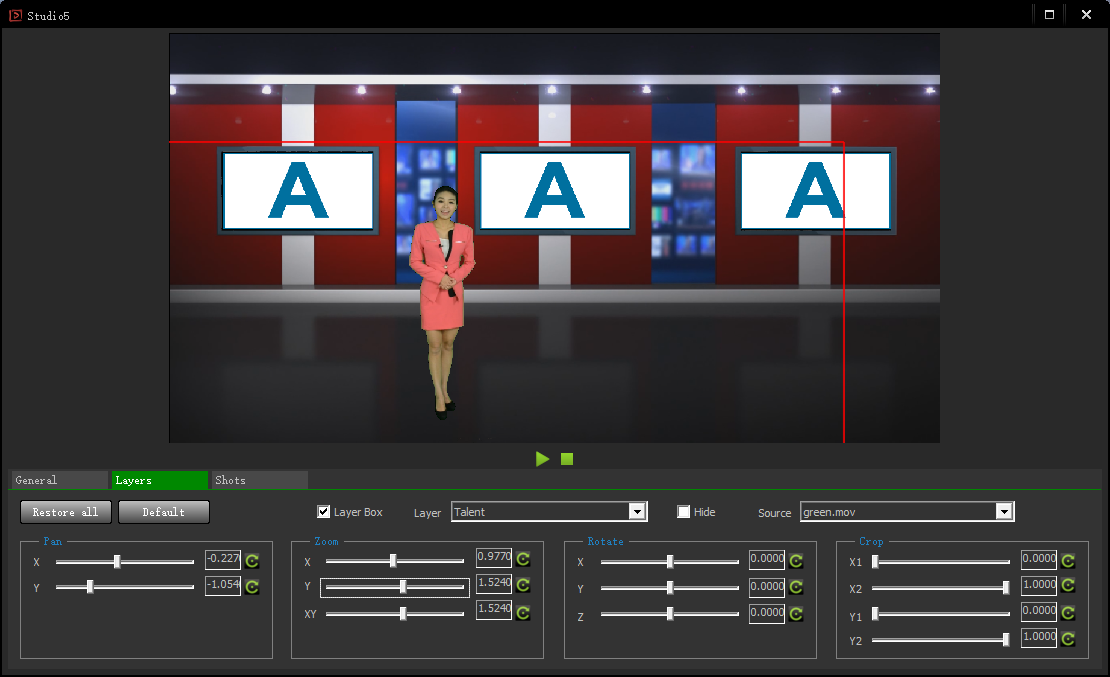
2) Open the property window of the virtual studio window, switch to the "layers" page, select "Talent" layer, and set the source to the source with host.

- Adjust the size and position of the host layer
Drag and roll the wheel with the mouse, or use the "pan", "zoom" and other levers to adjust to the appropriate size and position.
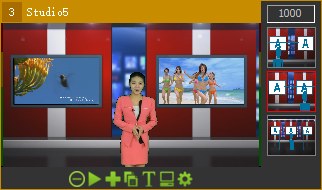
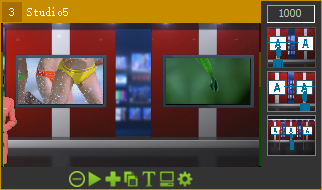
- Set the virtual studio screen source, the specific operation is similar to adding hosts. Support all types of sources, even another virtual studio, to achieve multi-level nesting effect.
- Cut shots
Each studio template is preset with 3 or more shots, or you can add custom shots as needed. In the side window of the source window, click the corresponding icon to realize the animation switching of the shots. Scroll the mouse wheel to adjust the switching speed.